Service Principal Management
- 14 Mar 2024
- 2 Minutes to read
- Print
- DarkLight
- PDF
Service Principal Management
- Updated on 14 Mar 2024
- 2 Minutes to read
- Print
- DarkLight
- PDF
Article Summary
Share feedback
Thanks for sharing your feedback!
Introduction
The first step in getting started with a Business Application in Turbo360 is to add a Service Principal.
Service Principal is an application within Azure Active Directory, which is authorized to access resources in Azure Stack.
Turbo360 uses the authentication tokens of the Service Principal to manage the resources.
Client secret expiry
Turbo360 allows users to configure the same date as the Azure portal in order to notify users 7 days before the expiration date to change the Client secret.
Users can change the Client secret expiry date when adding or editing a Service Principal during Service Principal management or Business Application management.
Add a Service Principal
Service principals can be added in two different ways depending on which access is completely different:
- Navigate to Service principals and click Add.
- Choose between Manage Azure Resources and Manage Power Automate Flows .options based on which the access will be provided.
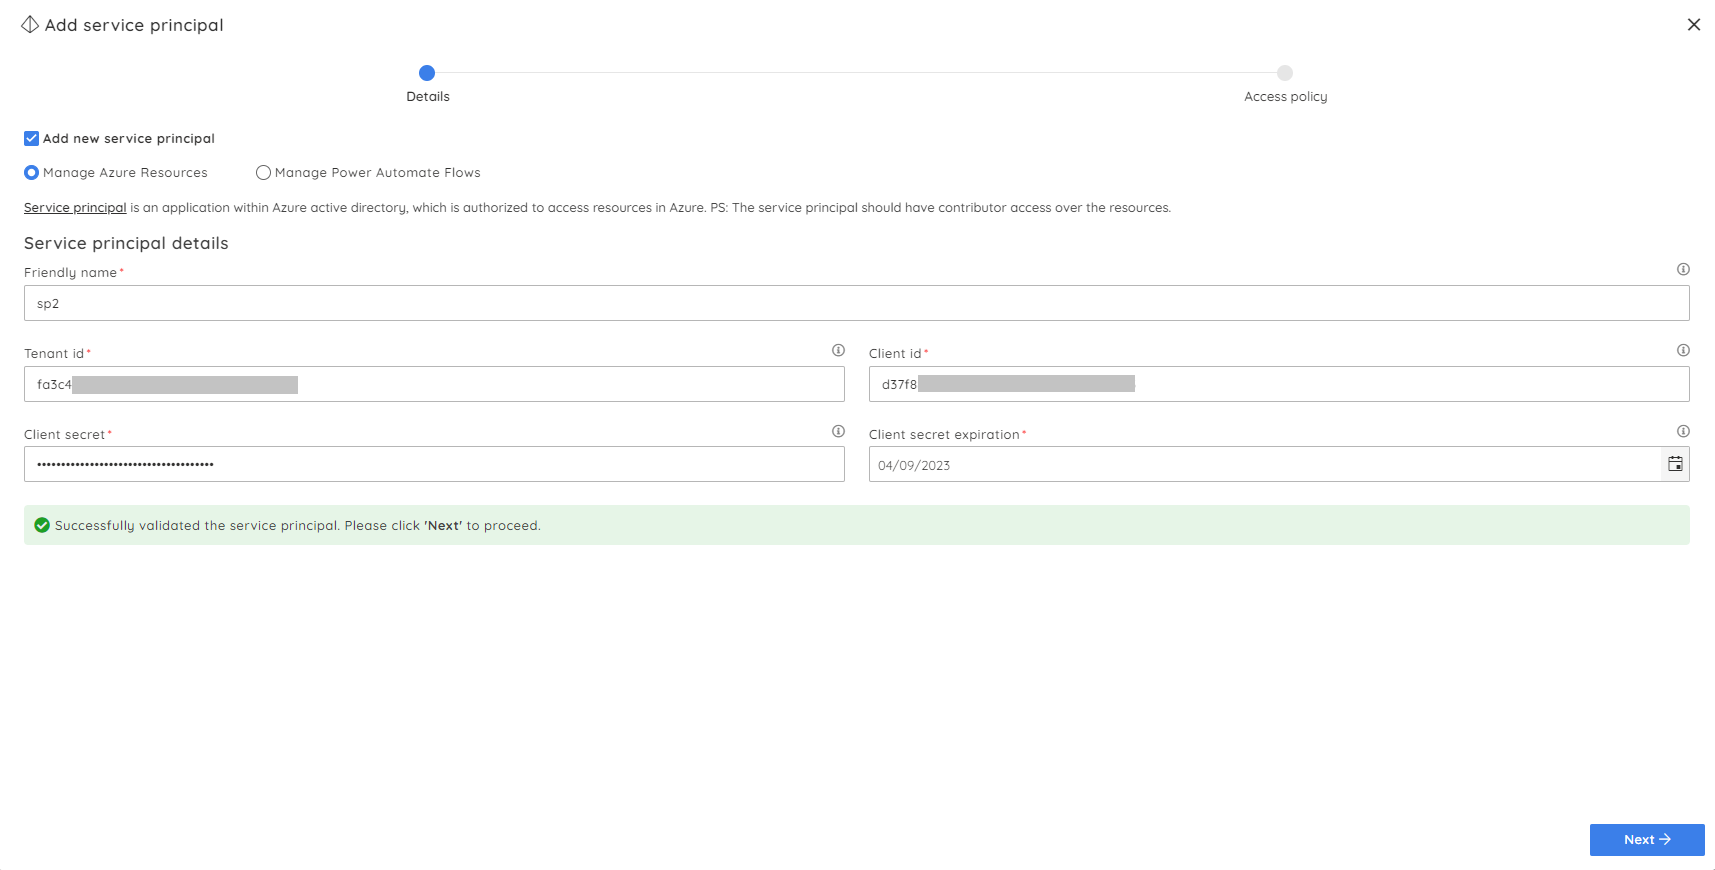
Manage Azure Resources
- Select Manage Azure Resources option.

Please enter a unique name to the Service Principal.
Provide the Service principal crendentials.
Set the expirate date for the client secret expiry in accordance to the date available in Azure portal.
Click Validate to validate the Service principal credentials.
The next step involves establishing the Service Principal Access policy within the Business Application module. Choose the Business Application groups eligible for Service Principal access. You can opt to do this for each subscription separately or update them collectively within a group.


By checking the boxes next to the required subscriptions and clicking Apply, it is possible to grant access for multiple subscriptions to similar business groups at once.

- Click Add to finish adding the Service Principal having access to Azure resources.
Users can only manage the corresponding Service Principal's resources and perform its operations within the specified Business group level.
Manage Power Automate Flows
- Select Manage Power Automate Flows option.

- Enter the Service principal credentials and click Validate.
- Once the validation is completed successfully, navigate to the given URL.

- Copy the response from the browser.

- Click Validate authorization code . Click Next after successful validation.

- You will be listed with the Power Automate Environments. Select the required environments and the corresponding Business Application groups.

- Click Add to create a Service principal with access to Power Automate flows.
Use existing Service principal
Any Service principal available at global level can be added to Business Application module by choosing the existing Service Principal and adding the same.

Refer to this article to get to know about adding Service Principals in General Settings.
Update a Service Principal
- Click on the Edit icon next to any Service Principal in the Service principals section.
- The Client Secret expiry and the expiration date can be updated under Service principal details. Update them and click Validate to again validate the new credentials.
- Click Next.
- Update the Access policy based on the needs and click Update.


Remove a Service Principal
- Click Delete icon next to any Service Principal.
- Click Remove in the confirmation box to remove it completely from the Business Application module.

Removing the Service Principal will remove the associated resources referring to this Service Principal from Turbo360.
Was this article helpful?