Cost Monitoring
- 19 Mar 2024
- 4 Minutes to read
- Print
- DarkLight
- PDF
Cost Monitoring
- Updated on 19 Mar 2024
- 4 Minutes to read
- Print
- DarkLight
- PDF
Article Summary
Share feedback
Thanks for sharing your feedback!
Introduction
Monitors in Cost Analyzer allows users to define a budget for their Azure cost on a monthly or daily basis and get notified if the actual cost reached the budget.
A Cost Management Group is required initially to set up a Cost Monitor.
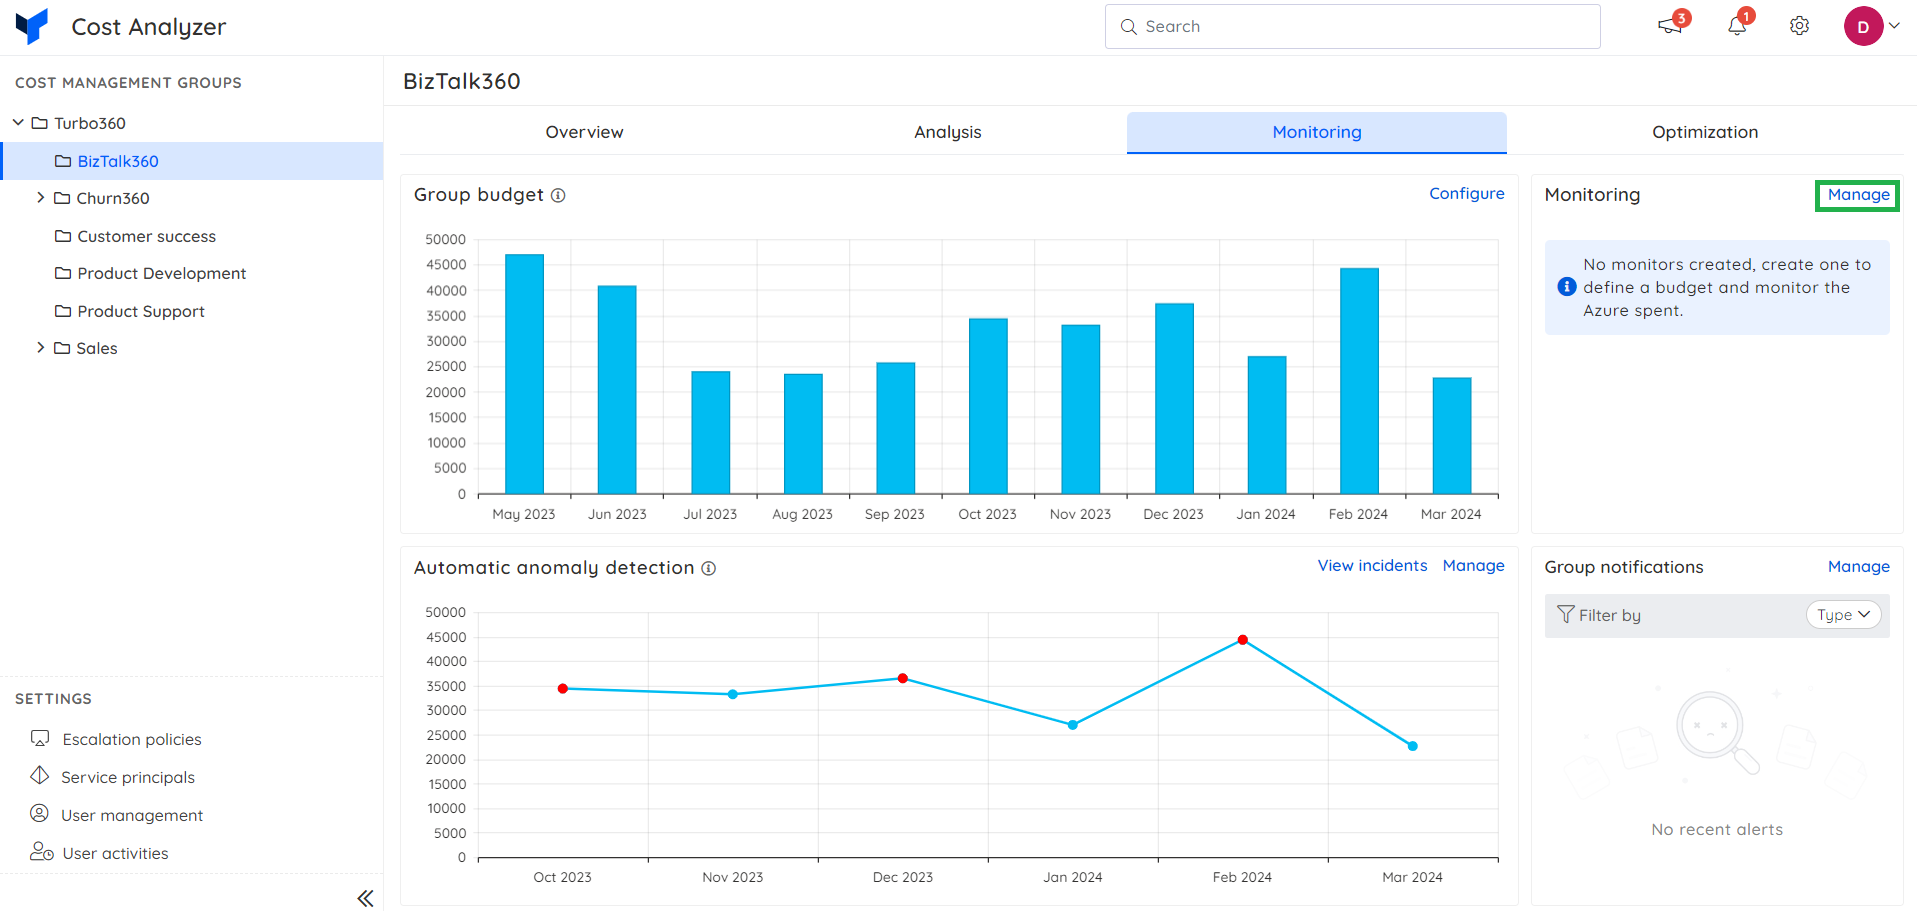
Add a Monitor
Given below is the step-by-step procedure to add a Cost Monitor to a Cost group:
Navigate to Monitoring section in a Cost group and click on Manage option.
Click on Configure Monitor and Enter a name to the monitor.
Choose between the Daily, Monthly, and Last 7 days options to run the monitor for the specified time interval. Click Next to proceed.


- The next step is to configure rules for monitoring. Clicking on the Add rule button opens a sub window to configure rules to the Monitor.

Monitoring rules
- Provide a name to the monitoring rule and choose the subscriptions that are to be monitored. The cost metric can be chosen between Actual cost and Amortized cost. Click Next to proceed.
Actual Cost: Displays the raw usage and purchases for Azure and third-party Marketplace offerings as they will appear on the invoice.
Amortized Cost: Divides reservation purchase charges and distributes them evenly over the term's duration. Amortized reservation costs are linked to the resources that were used.

- Users can add filters to categorize cost data based on provided criteria and monitor for violations. Click Next to proceed with the budget definition.
Click here to know more about filters available in the Cost Analyzer product.

Budget definition
The Azure cost trend is displayed as preview for users to have a clarity on their Azure subscription usage based on the applied filters and selected subscriptions.
The currency type is determined based on the billing currency type for the user's Azure subscriptions.
- Choose between Static and Dynamic options to define the budget limit for monitoring A static budget is a user-defined budget value based on which monitoring is performed at a given time interval. The dynamic option allows you to define budget differences based on which a violation is detected in a specified time interval.

- Click Add to complete adding a monitoring rule.
- Click Next to customize the alert configuration.
Monitoring alerts
- Select the desired escalation policy with preferred notification channel selection.
- Click Add to finish creating the Cost Monitor.
An alert will be triggered to the user when the actual budget exceeds the provided budget (or) budget difference.
Click here to know more about Notification channels.

Update existing monitoring configuration
- Go to Monitoring section in a Cost group. Click on the Manage option in the Cost Monitors section.
- Click on the dropdown, it will display the list of available monitors.
- Select a monitor and go to the Settings sections
- Perform the required changes and Click on Update.

Remove a Monitor
- Go to Monitoring section in a Cost group. Click on Manage.
- Select a monitor from the dropdown.
- Click the Delete icon next to any monitor that is to be deleted.
- Click Delete in the confirmation box.

Controlling Monitor state
Users can Enable (or) Disable a Monitor for the corresponding Cost Management Group.

Alert incidents
Alerts identified by Turbo360 monitoring will be created as Incidents, and they can be resolved at anytime.
Users can view the list of alert incidents generated for a Cost Monitor under Incidents section
The details of the incidents can be accessed by clicking the state.

Resolving incidents
An alert incident can be changed to any of the following states:
- Open - when there are violations in an incident
- Acknowledge - when the user intends to investigate the violations
- Close - when the user believes that the violations are resolved and the alert incident is no longer useful
- Reopen - when the user feels that the incident is still problematic
The incident state can be changed individually by selecting the respective option in the context menu (or) be changed in bulk by selecting the required incidents and choosing the respective option from the Actions dropdown.

Tracking user actions
By choosing the view user actions option from the context menu of an incident, it is possible to track every user action detail for an alert incident. The information includes the user's information, the time the action was taken, and the change in incident state.

Notification history
The details of notification channels for each transmitted alert can be viewed by selecting view notification details option from the context menu of an incident.
If a Notification channel transmission is failed, the reason for failure will be available against the alert.
Filtering
Following options are available to filter the incidents:
- Incident Status
- Date
Status calendar
Users can access the historical summary of the Cost Analyzer's cost alert status in the form of a calendar. Data for the last 30 days will be always available to users for reference.

Was this article helpful?